Search This Blog

Tuesday, May 29, 2012

Watermelon and Arugula Salad

Watermelon is a nice addition to a salad and so refreshing.

Serves 6

1/2 pound baby arugula leaves
2 pounds watermelon cubes
1/4 cup extra virgin olive oil
juice of 1 large lemon
1 teaspoon kosher salt
1/2 teaspoon pepper
1/2 cup shredded parmesan cheese

Place the arugula, watermelon and cheese in a large salad bowl. Whisk together in a bowl the olive oil, lemon juice, salt and pepper. Pour over the items in the bowl. Toss and serve.

Monday, May 28, 2012

Back in the Day Carrot Salad

My mom used to make carrot salad a lot when I was a kid. But like all things, carrot salad seems to have seen its day. I'm resurrecting it today. Carrot salad couldn't be easier to make with the help of shredded carrots found in the produce section. Plus, kids love carrots and will enjoy this.

Serves 4-5

1 8oz bag of shredded carrots
1 15oz can of pineapple chunks, drained
1/3 cup of golden raisins
1/2 cup of toasted whole peacans, chopped
1/2 cup fat free greek yogurt
1/2 cup light mayp
3 tablespoons honey
juice of half a lemon

Place all ingredients in a large bowl. Mix well until combined. Chill and serve

Kensington Memorial Day Parade 2012

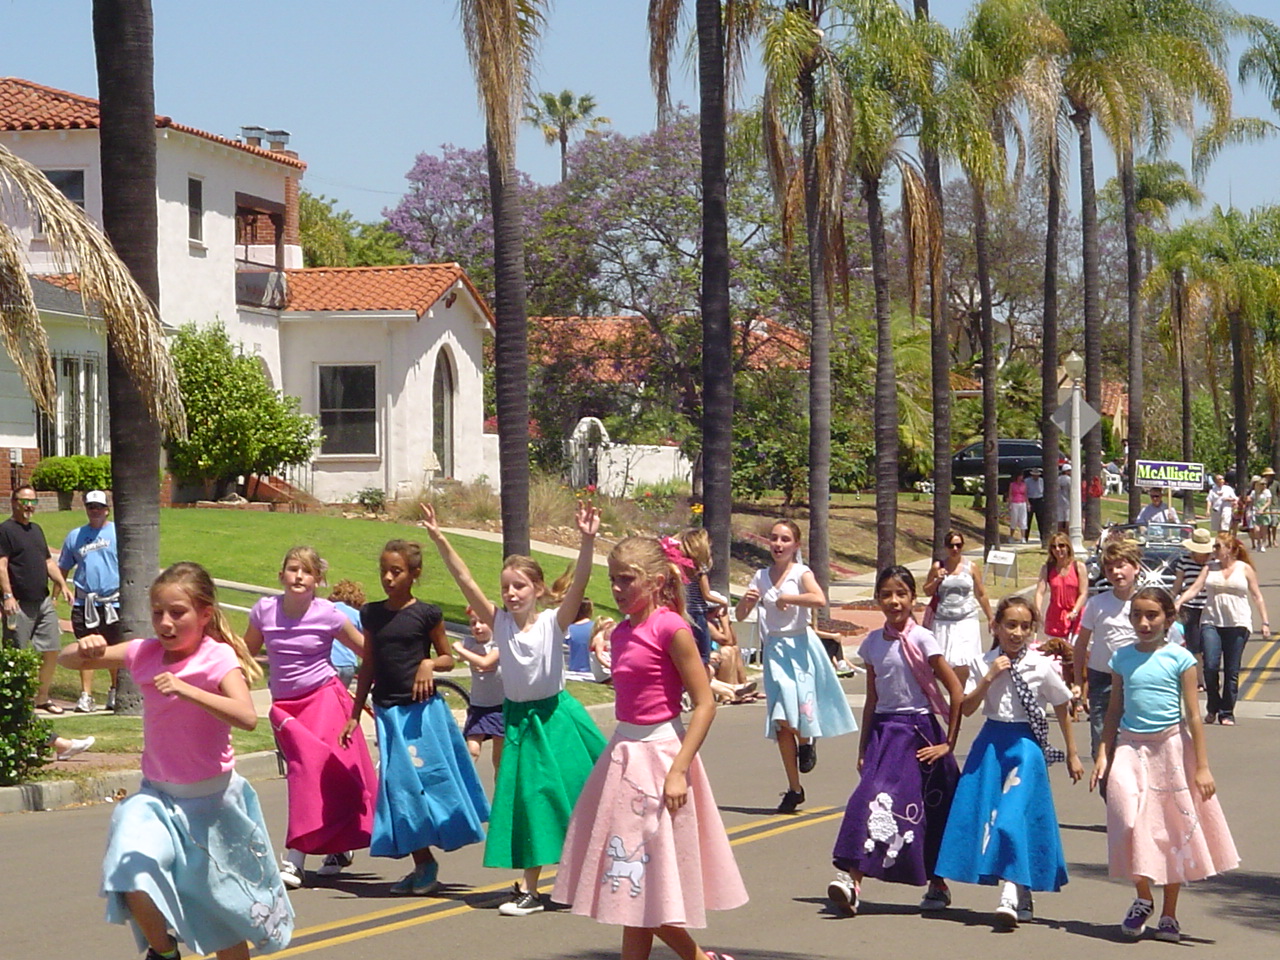
Boy, word must have gotten out this year. Attendance was about double of last year and the parade had the most participants we've ever seen! Participants ranged from local politicians to area elementary schools. If you had an old car, cute baby,are associated with a local business or club and wore a goofy costume you were in. It sure was fun and the kids had a great time. Can't wait for next year.

Here's the start of the parade

Waiting for parade to go by!

This year the parade honored the community trash patrol. They keep our community looking great.

San Diego's Mayor and Kensington resident-Jerry Sanders

Francis Parker Elementary School brings a little New Orleans to Kensington


My alma mater! I attended as a student and began my teaching career here.

Neighbors manning their float entitled-Once Upon A Time


The Model A Club


Surf's Up- Woody's from Pacific Beach


Em leads the pack


Local dance Troupes

Gardening Club


That's all until next year!

Salted Caramel Ice-Cream


Ice-cream has to be my guilty pleasure. In the summer we like to go walking in Coronado in the evenings. It just so happens that our route takes us by Moo Time, Coronado's ice-cream shop. They have some of the best ice-cream in San Diego. Makes you wonder, are we really trying to be healthy or is this just an excuse to mack out on ice-cream??? I suspect it's the later.

Serves 5 Yeild-about 4 cups

Ice-Cream Base
1 cup whole milk
4 large egg yolks
3/4 cup sugar
2 cups heavy cream

Prepare and ice-bath by setting a 2 quart bowl over a larger bowl partially filled with ice and water. Set a strainer over the smaller bowl.Heat the milk in a sauce pan over medium-low heat.In a separate bowl, whisk together the egg yolks and sugar until pale yellow in color. Gradually pour the hot milk into the egg yolks, whisking constantly. Pour the mixture back into the same saucepan you used to warm the milk. Cook for 3-5 minutes, stirring constantly, until the custard thickens and coats the back of a wooden spoon. Strain the custard into the top bowl of the ice-bath to stop the cooking process. Add the heavy cream and stir over the ice bath until cool. Cover with plastic wrap and place in the frig.

Caramel

1 1/4 cups sugar
3/4 cup heavy cream
1 teaspoon flaky sea salt
1 tablespoon pure vanilla extract

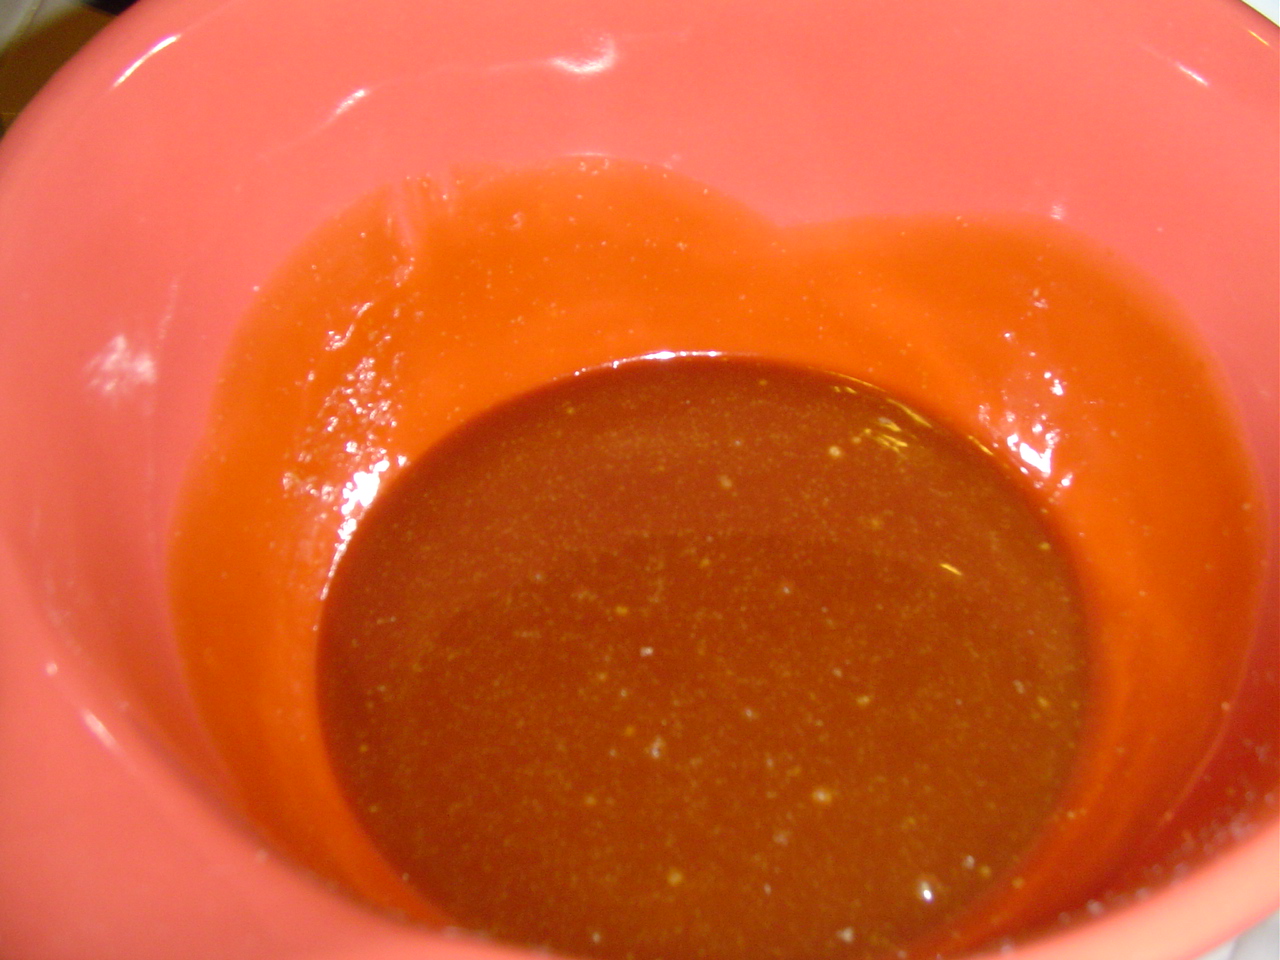
Heat the sugar in a dry heavy bottomed saucepan over medium/high heat, stirring with a fork to heat the sugar evenly, until it starts to melt. Stop stirring and swirl the pan so the sugar melts. Continue cooking until it is a dark amber color. Carefully add the heavy cream (the mixture will splatter) and cook,stirring until all the caramel has dissolved. Transfer to a heat proof bowl and stir in the sea salt and the vanilla. Set the caramel mixture over the ice-bath, until chilled to room temp. Combine the caramel with the ice-cream base and return to the frig over night. Freeze in an ice-cream machine according to manufacturer's instructions.


Sunday, May 27, 2012

Gooey Chocolate Caramel Bars

My cousin's son graduated from high school on Friday and we're celebrating today. I like to add a personal touch to gifts when I can so I thought a plate of these would be a nice accompaniment to the traditional card and gift card. These are super easy to make and taste like they came from a professional bakery. They really should be illegal but so glad they're not!


Flourless Chocolate Cake

(makes one 9″ round cake, or 9×13″ bars
1 11.5 ounces bag of bittersweet chocolate chips
3/4 cup (1 1/2 sticks) unsalted butter, cut into pieces
6 large eggs at room temperature, separated
12 tablespoons sugar
2 teaspoons vanilla extract
Preheat oven to 350°F. Spray 9-inch-diameter springform pan. Line bottom of pan with parchment paper or waxed paper; spray paper. Wrap outside of pan with foil. Alternately, line 9×13″ pan with foil or parchment and spray with nonstick spray. Melt chocolate and butter in microwave-safe bowl until melted and smooth. Remove from heat. Cool to lukewarm, stirring often.
Using electric mixer with whisk attachment, beat egg yolks and 6 tablespoons sugar in large bowl until mixture is very thick and pale, about 3 minutes. Fold yolk mixture into lukewarm chocolate, and stir in vanilla. Clean the mixer bowl and beaters. Beat egg whites in the clean bowl until soft peaks form. Gradually add remaining 6 tablespoons sugar, beating until glossy medium-firm peaks form. Fold whites into chocolate mixture in 3 additions. Pour batter into prepared pan.
Bake cake until top is puffed and cracked and tester inserted into center comes out with some moist crumbs attached, about 25 minutes for 9×13 and 40 minutes for 9″ pan. Cool cake in pan on rack (cake will fall).
Gently press down crusty top to make evenly thick cake, or trim the top so that it is even. If making round cake, cut around pan sides to loosen cake. Remove pan sides. Place 9-inch-diameter tart pan bottom or cardboard round atop cake. Invert cake onto tart pan bottom. Peel off parchment paper. If making bars, leave the cake in the pan.

Caramel Layer

1 pound soft and chewy caramels
1/4 cup heavy cream (or less–I might only use 2 tbsp next time)
Melt the caramels and the cream in a microwave-safe bowl and stir until it is melted and smooth. Pour the caramel over the cake and spread it into a smooth, even layer.

Ganache Layer
1 11oz bag of dark chocolate chips
1/2 cup heavy cream
Place chopped chocolate in a medium bowl. Place the cream in a small saucepan and heat it until it simmers with small bubbles forming around the edges. Pour the hot cream over the chocolate and allow it to sit and melt the chocolate for one minute. Gently whisk the cream and chocolate until the mixture is smooth and homogenous. Pour the ganache over the caramel layer and smooth it into an even layer. Place the bars in the refrigerator to set the caramel and ganache, about 3 hours or overnight.
To serve, use the foil to lift the bars out of the pan. Dip a large knife in hot water (this is the easiest way to get clean cuts) and cut the bars into small squares, dipping and wiping the knife blade as necessary. These bars are decadent and very rich, so you can easily get 20, 24 or even 28 squares out of one 9×13 pan. They taste best at room temperature, but don’t let them get too warm or the caramel will become messy.

My New Menu Board


One of the pitfalls of recovering from knee surgery is that cabin fever sets in fairly quickly. I am so used to having an full to overflowing plate that I just don't know what to do with myself most days. I found some great crafts and DIY projects on Pintrest and decided to get crafting. Since I can't drive right now I am left to drag my son along with me to the craft store. Nothing strikes terror in the heart of a male more than having to take a woman shopping. I'm afraid I've lost Chris to the dark side. Our niece is getting married in August and I wanted to give her a unique gift along with the standard place setting. I've made my own first to see what works best and here's how mine went together.

1 16x20 framed cork board
1 cardboard box with a lid
7 large spring clothespins
Scrapbook paper(I used paper from the Heidi Grace Line. These come from the Tweet Memories designs
2 packages of coordinating sticker trims.
1 black sharpie marker
off white satin finish interior paint
plaster of paris
water
paint brush
ruler
pencil
scissors
glue(I think a spray adhesive works best)
glue gun

I made chalk paint out of the paint, plaster or paris and water.
1 cup paint
3 tablespoons plaster of paris
2 tablespoons water
Mix the plaster of paris and water into a smooth paste and add it to the paint.
Chalk paint will adhere to any wood surface and you won't have to sand or prime the wood first. Paint the frame. I used 3 coats and allowed it to dry completely. Choose your paper colors for the inside.
I divided my board like this
8 inches for the top
2 inches for the strip in the middle
12 inches for the bottom
I needed to piece the patterns using 2 sheets of each color as the paper was 12x12. I needed an extra 4 inches to make it across.
Once I had the pieces cut, I laid them out to see if I liked the layout before I glued them down.
I then used the sticker borders to conceal the edges and give the center a more finished look.
I also used the stickers to decorate the flat side of the clothespins. This was faster and neater than painting. I used the sharpie to write a day of the week on each pin.
I spaced them out on the my board and then I glued each one to the wood frame and the board itself with my glue gun.
I cut the box in half and discarded the lid. I measured and cut another paper to fit the box and then wrapped and glued it to the box. I did the sides first, cutting enough paper to extend halfway across the bottom of the box, folded and glued. Then I did the front also cutting enough to be folded and glued to the bottom of the box. I then finished the edge with more of my sticker trims around the sides and front of the box. I used my glue gun to put glue along the cut edges that I glued to my board to secure it.
Finally, I chose a font I liked from my computer and printed out the words-Menus and Let's eat!. I then free handed the words onto the board with a pencil and ruler.

I went over the letters with my black sharpie.

My last task is to print out my recipes onto cards and store them in the boxes. To plan meals, I can pull the recipes I want to use and then clip the recipe card to the clip that indicates the day I will make that recipe.

Saturday, May 26, 2012

Sour Cream,Buttermilk Pound Cake


I have this great idea for a Memorial Day dessert. I'm going to cut star shapes out of pound cake and then assemble it on the plate with fresh strawberries, blueberries and whipped cream. It should look very festive. I haven't decided yet if I will be sandwiching the berries between 2 stars or just use one per plate. I guess it will depend on how many stars I will be able to cut out. I couldn't decide on a sour cream or buttermilk pound cake. So I thought why not use both? I have an extra long loaf pan for mine. However,you can either fit this into a bundt pan or 1 loaf pan and 1 mini loaf pan.

2 sticks (1 cup) butter, softened
3 cups sugar


6 eggs
1/2 cup buttermilk
1/2 cup sour cream
1/2 teaspoon baking soda
1/4 teaspoon baking powder
3 cups all purpose flour
zest of 1 large orange
1 teaspoon vanilla extract

Preheat the oven to 325. Spray your baking pan with baking spray. In a medium bowl, combine the flour, baking powder and soda together;set aside. In a large bowl with an electric mixer, whip the butter and sugar until light and fluffy. Add the eggs, one at a time. Add the zest and the vanilla. Add half of the flour to the bowl. Follow with the sour cream and the buttermilk. Finish with the remaining flour. Pour into the prepared pan. Bake for 90 minutes. Do not open the oven for the first 60 minutes. When the cake begins to pull away from the sides of the pan, it is done. Remove from the oven and let cool for 10 minutes. Remove from pan onto a cooling rack and let it cool completely. To form into stars. Cut the cake into 3/4 inch slices. Use a cookie cutter to cut the shapes. Save the trimmings to make a small trifle or cake crumbs for another dish.

Printfriendly